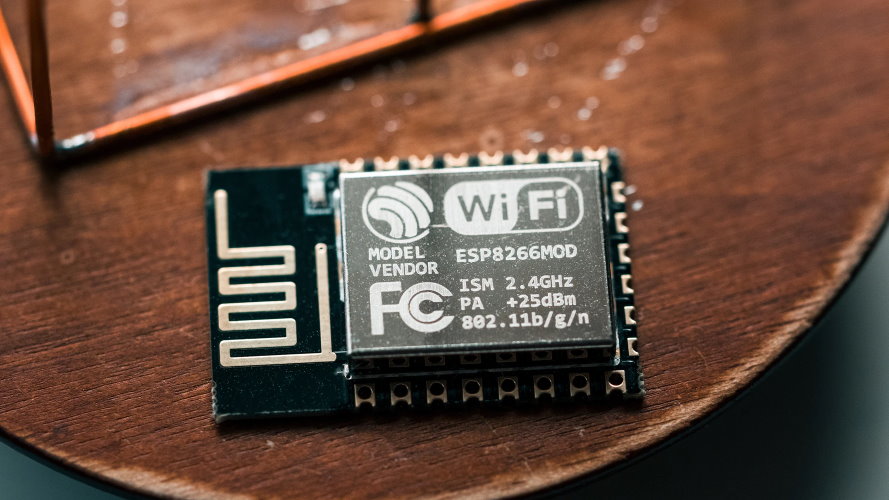
Programming ESP32/ESP8266 in MicroPython via Jupyter Notebook

Do you know Jupyter Notebook?
Lets start with the official definition:
The Jupyter Notebook is an open-source web application that allows you to create and share documents that contain live code, equations, visualizations and narrative text. Uses include: data cleaning and transformation, numerical simulation, statistical modeling, data visualization, machine learning, and much more.
Jupyter supports over 40 programming languages, but - if you ask me - is by far mostly used with Python.
Do you enjoy MicroPython?
With Python being one of the most used programming languages and numbers ever increasing, it is no conincidence that Python is now also available and widely used on Micro Processors like the ESP32 or ESP8266.
MicroPython is a lean and efficient implementation of the Python 3 programming language that includes a small subset of the Python standard library and is optimised to run on microcontrollers and in constrained environments.
With REPL and WebREPL accessing and controlling the MicroController is already very conviniant.
But still, with my try-and-error based programming style, frequent code transfer, restarts and reconnects take some time.
Let’s combine the joy!
What if we could combine MicroPython and Jupyter? What if we could use the ease of use of the web application with live code support with the tailored programming language provided for MicroControllers? Wasn’t Jupyter Notebook said to support over 40 languages?
Well the answer lays here https://github.com/jupyter/jupyter/wiki/Jupyter-kernels.
Wow! There is a specific Jupyter Kernel supporting MicroPython for ESP8266/ESP32 based boards!
Installation
The linked github repo includes the documentation to install and get started.
In my case (Windows 10, Python and Jupyter already installed) the following commands did the trick:
git clone https://github.com/goatchurchprime/jupyter_micropython_kernel.git
pip install jupyter_micropython_kernel
python -m jupyter_micropython_kernel.install
To verifiy successful installation, list all installed kernels
jupyter kernelspec list
Now, whenever creating a new Notebook, Jupyter asks which kernel to use for the new document:
- MicroPython - USB -yeah- or
- Python 3
Getting started
just place a line like this (with your correct port) into the first cell to connect to your MicroPython board (assuming the MicroPython firmware is already flashed and working):
1
%serialconnect to --port=COM4 --baud=115200
Any code in this notebook is then send and executed directly on your ESP32/ESP8266 board.
A very thouroughful guide including more options can be found here.
 Never miss a story from us, subscribe to our newsletter