A look inside
Not sure if I would recommend this approach - a bigger box would at least provide more comfort and easier access to components. However, that is what it looks like in my case:
RFID Reader
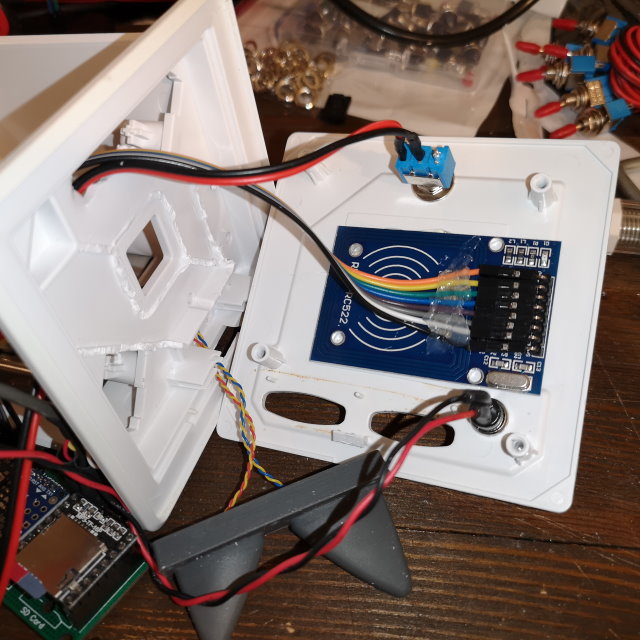
- The jumper wires needed some glue to stay in place while moving the components.
- The inner parts needed some tooling to make more space for the new RFID reader.
- The surface where the Tonies originally are placed on was stripped of its metallic layer to allow RFID communication with the smaller new reader.
The TonUINO PCB and USB connectivity
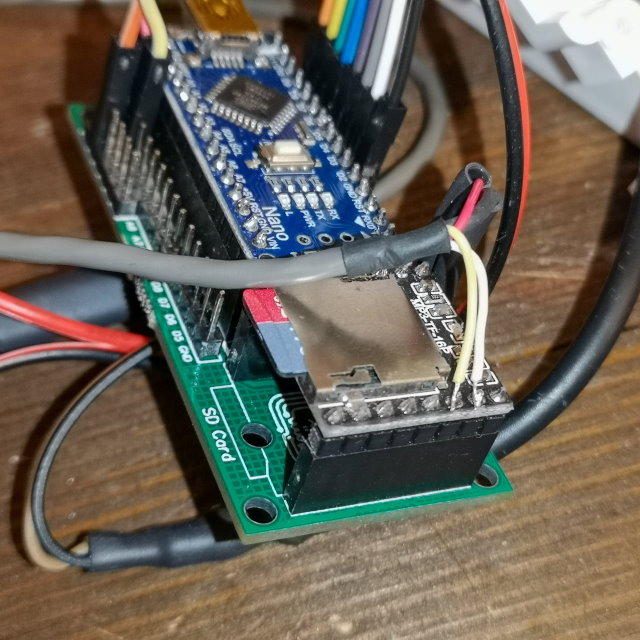
- In order to access the SD card without opening the box, we need to access the USB- and USB+ lines of the DFMini player. Unfortunately that is not part of the PCB design.
- A shielded wire did the trick
Put together
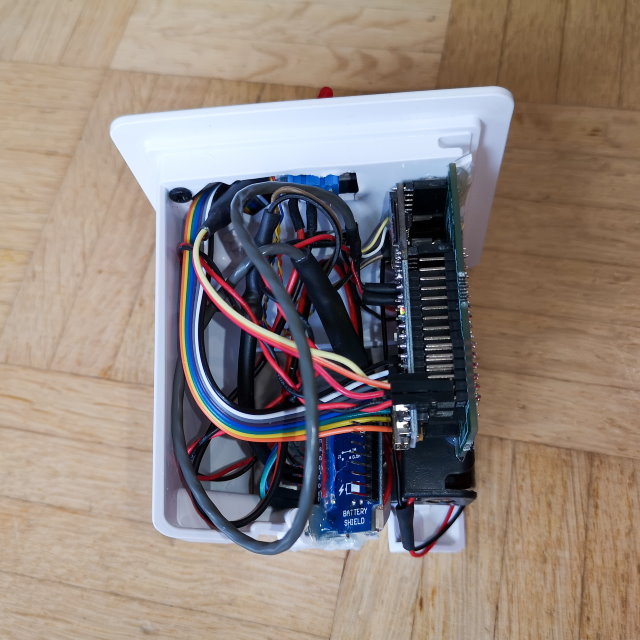
- Quite some wiring to be aware of and to be sorted into the housing.
- I have to confess - hot glue is maybe not the best solution, but the most pragmatic.
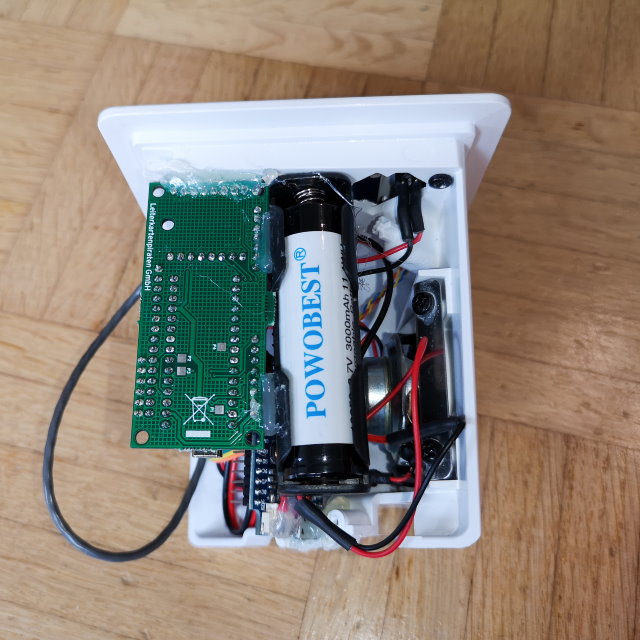
- A single 18650 battery is enough to power it for multiple hours.

- should we need to update the Arduino at some day, the connector can be reached easily when the block is pulled out of the housing.
Outside view
- The original power jack is gone. We can see the micro USB Port beneath.
- The hole needs some widening though.
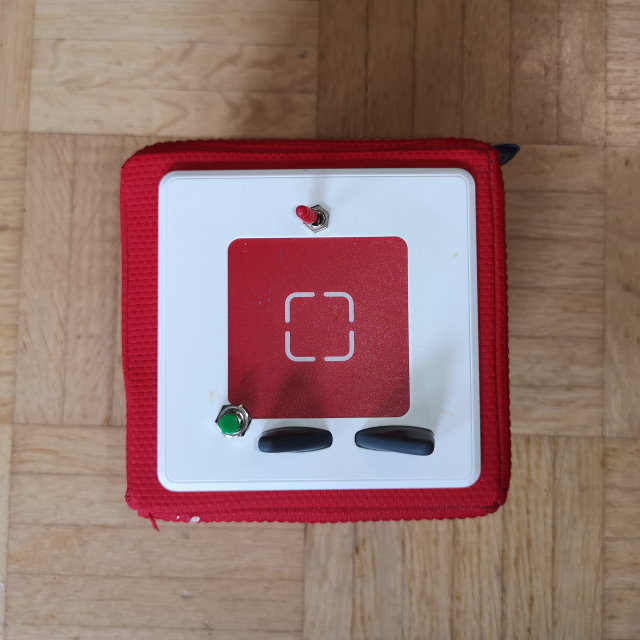
- The play/pause button sits in the slightly widened former headphone opening.
- The initial idea of using a power switch with a built in LED had to be rejected. The frame between the inner square and the outer assembling groove is too narrow.
- However some kind of LED would be quite useful to indicate power on when no playback is running…